25 Essential Excel Shortcuts Every Data Analyst Should Know
Ever wished you could analyze data in Excel at the speed of light? With these 25 essential shortcuts, you'll work smarter, not harder. Let me show you how I use them—and how you ca...
Transform your spreadsheet skills with our comprehensive tutorials, professional templates, expert webinars, and powerful tools. Join thousands of Excel enthusiasts worldwide.

Everything you need to become an Excel expert and transform your career
Our comprehensive learning ecosystem combines step-by-step tutorials, real-world templates, live expert sessions, and powerful automation tools. With over 500+ resources covering everything from basic functions to advanced data modeling, we provide the most complete Excel education platform available today.
Transform Excel into a powerhouse with 100+ professional tools, AI intelligence, and workflow automation that saves 80% of your time.
Smart Excel assistant with chat interface
Advanced workflow automation
One-click data processing
Professional data analysis
Powerful online tools that boost your Excel productivity and streamline data processing
Save hours of manual work with our collection of free Excel processing tools. From merging multiple workbooks to cleaning messy data, calculating complex financial metrics to converting file formats, our tools are designed to handle the most common Excel challenges that professionals face daily. Each tool processes your data securely and provides instant results.
Effortlessly combine multiple Excel workbooks into a single file with advanced options for sheet organization, column mapping, and data consolidation. Perfect for monthly reports, data aggregation, and file management tasks.
Transform messy Excel data into clean, professional format by automatically trimming whitespace, removing hidden characters, standardizing text case, and fixing common data quality issues that cause formula errors.
Calculate loan EMIs, interest rates, and payment schedules with support for multiple currencies, Indian and Western number formatting, and detailed amortization tables for financial planning and analysis.
Stay updated with our newest Excel guides, advanced techniques, and productivity tips
Discover the latest Excel features, learn advanced formulas, master data visualization techniques, and explore automation strategies that will revolutionize how you work with spreadsheets. Our tutorials are designed by Excel experts with decades of real-world experience.

Ever wished you could analyze data in Excel at the speed of light? With these 25 essential shortcuts, you'll work smarter, not harder. Let me show you how I use them—and how you ca...
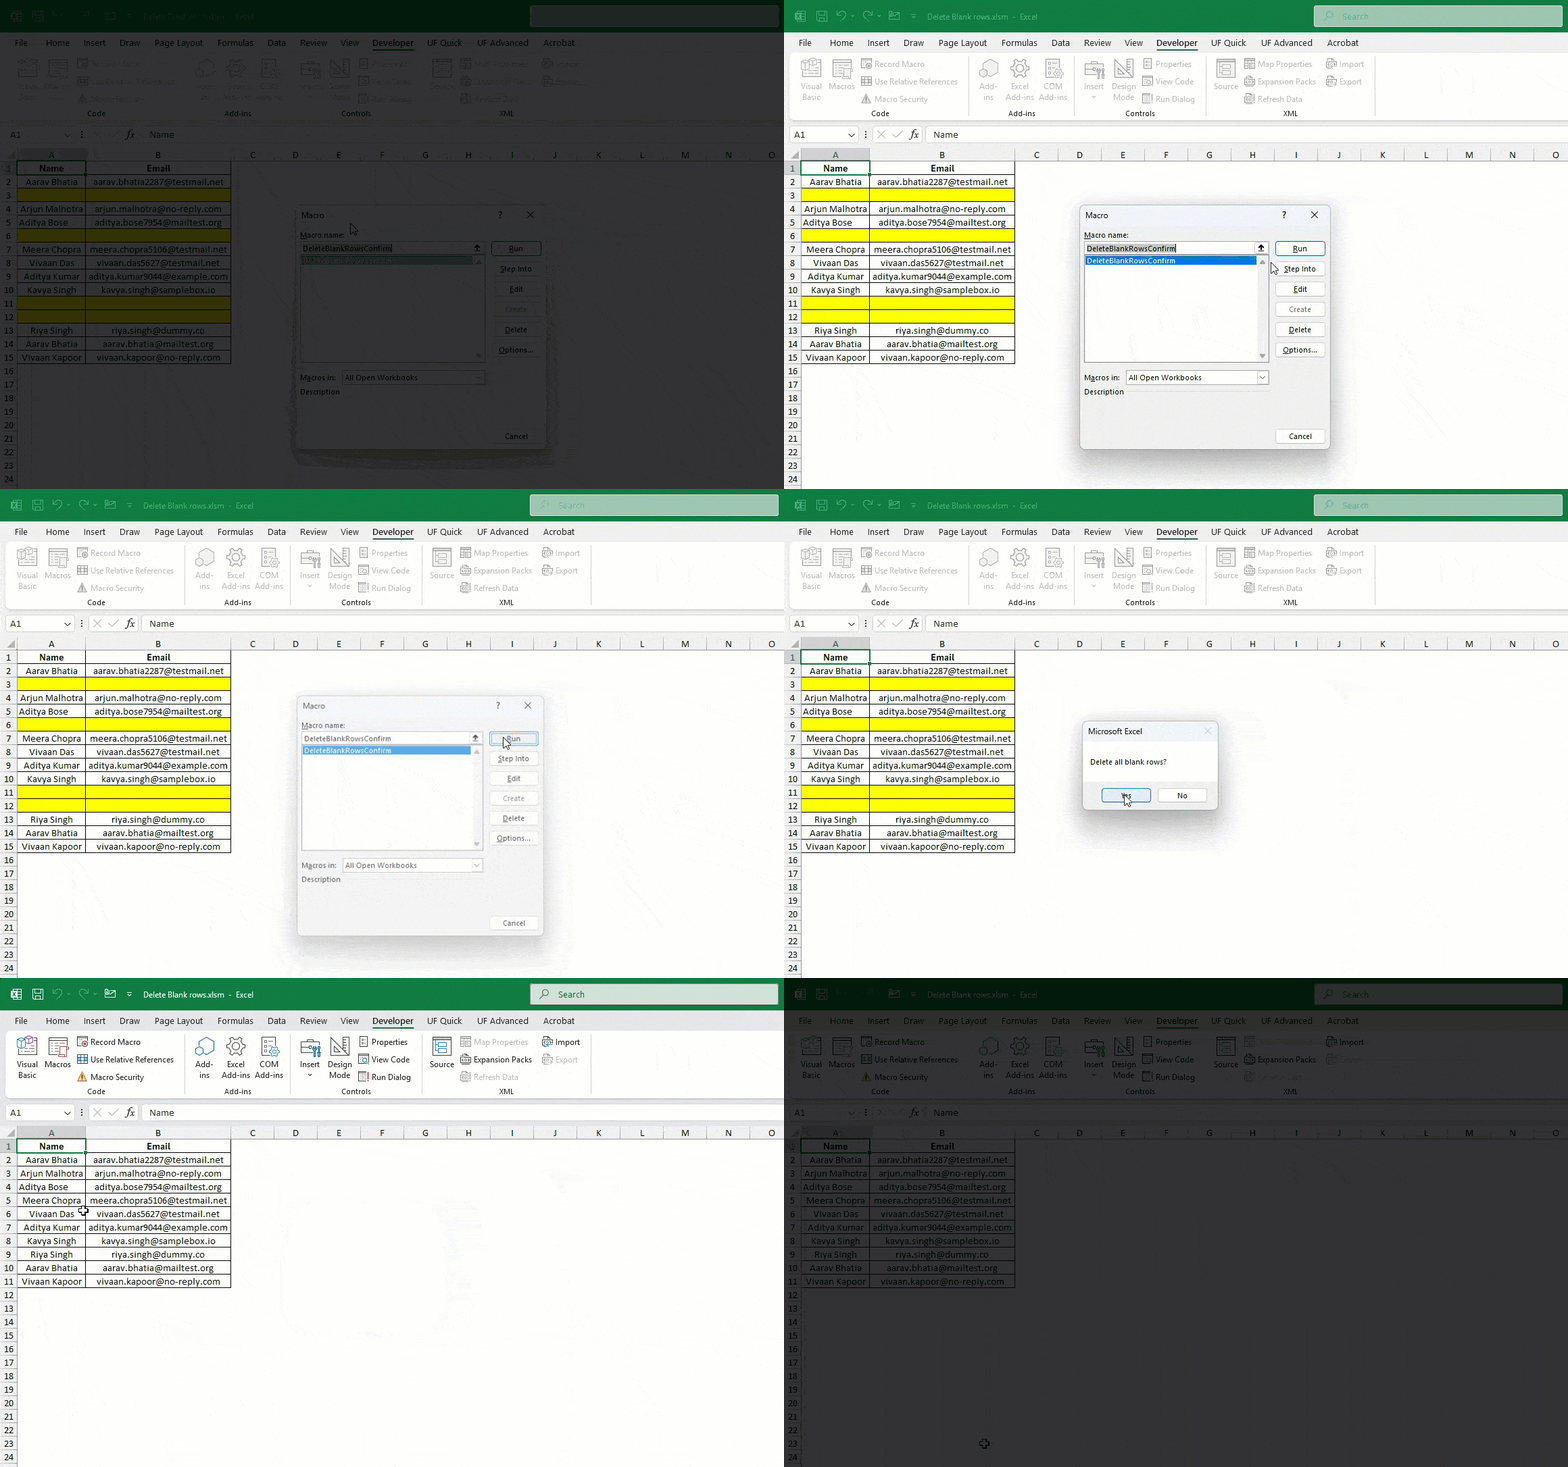
Messy Excel files with random blank rows are frustrating. I’ve faced them too while working with reports from clients or raw exports from tools. Manually deleting rows one by one i...
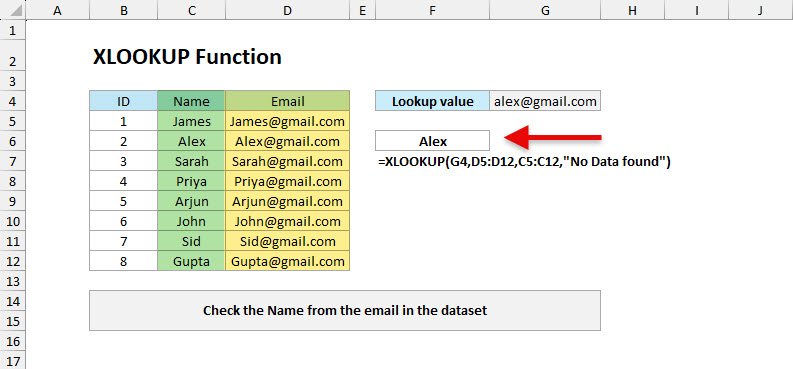
The XLOOKUP function in Excel is newly introduced in the latest version of Excel, which is a powerful replacement for older lookup functions like VLOOKUP, HLOOKUP, and LOOKUP. It a...
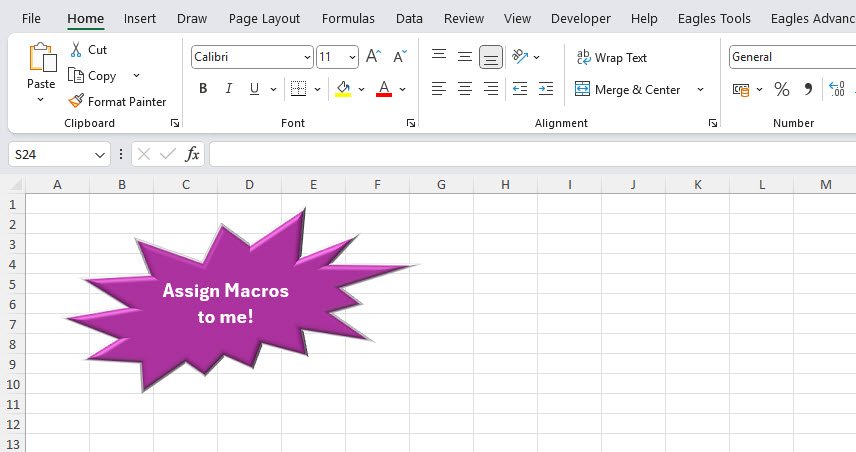
Have you ever wished you could make your Excel workbooks more interactive and user-friendly? What if you could click a button, shape, or even an image and instantly run your favori...
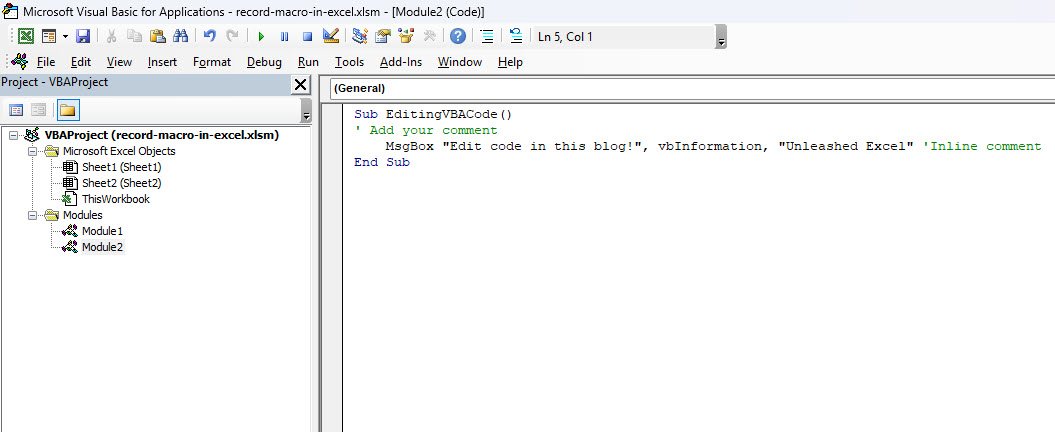
If you’ve started exploring macros, you already know how to record them to automate repetitive tasks. But here’s a little secret: knowing how to edit VBA code takes your Excel skil...
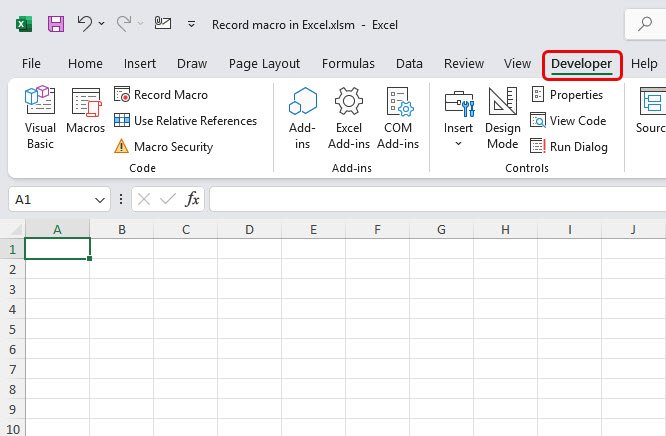
If you’re anything like me, you want to spend less time repeating tasks and more time thinking, analyzing, and creating. That’s exactly why learning how to record macros in Excel w...
Professional Excel Libraries ready for download
This Excel dashboard is built to handle up to 15,000 income and expense entries&...
The Bulk Email Sender Excel template automates the entire process — from choosin...
The SMART Goals Analysis Template is a focused, structured Excel tool designed t...
The Weekly Budget Planner & Expense Tracker is a comprehensive Excel templat...
Professional templates, comprehensive guides, and practical tools to master Excel concepts quickly
Access our extensive collection of professionally designed Excel templates, detailed how-to guides, and practical resources. Each library item is carefully crafted to solve real business problems and includes step-by-step instructions, best practices, and customization tips to help you implement solutions immediately in your work environment.


